Property Management Overview:
Understanding Post-Verification Steps
This section is for leasing teams and property management staff to understand what happens on your side once an applicant completes income verification during the online application process.
Viewing ID FraudGuard Results
- ID FraudGuard’s pass/fail results are displayed in the applicant details panel within TenantTech
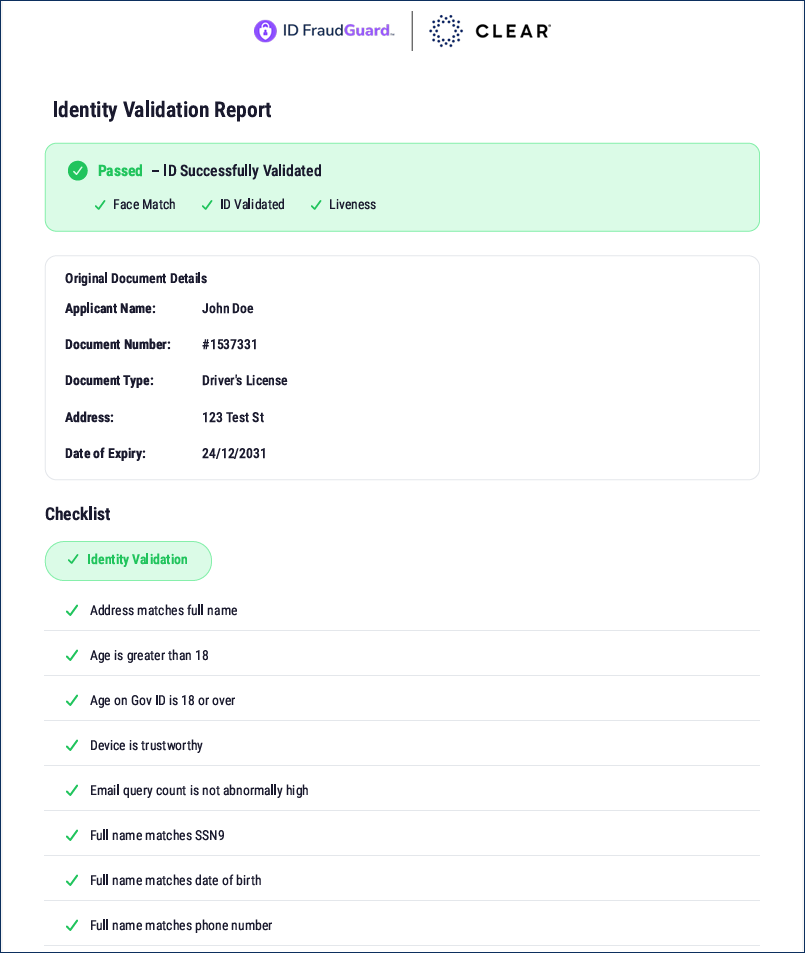
- A more detailed FraudGuard Report may be accessed by clicking on the pass/fail result hyperlink.
How ID FraudGuard Supports Your Leasing Team
- Reduce fraud and misrepresentation by confirming up front—before an applicant moves deeper into the process.
- Save staff time by reducing manual outreach and rework when an identity can’t be verified.
- Improve application quality by catching identity issues early, so downstream screening is based on verified information.
Key Things to Keep in Mind for Online Applications
- ID FraudGuard is completed by the applicant as part of the online application workflow.
- If an applicant is unable to complete ID FraudGuard, the site team must complete an Identity Verification override before the applicant can continue their application.
- Leasing teams cannot modify or resubmit ID FraudGuard on the applicant’s behalf.
- If the applicant’s email address or phone number is incorrect, they must start a new online application using the correct information.
- If an applicant fails ID FraudGuard, the site team must complete an Identity Verification override before the applicant can continue their online application.
Viewing an Applicant’s ID FraudGuard Results in TenantTech
From your TenantTech profile, there are two places to look to determine the results of an applicant’s ID FraudGuard verification.
- Lifecycle Status – After completing their verification, the lifecycle status will either say Passed or ID Verification Failed. If the applicant passes the verification, they may continue their application. The lifecycle status will automatically update once their application is submitted.

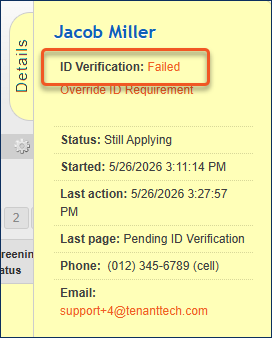
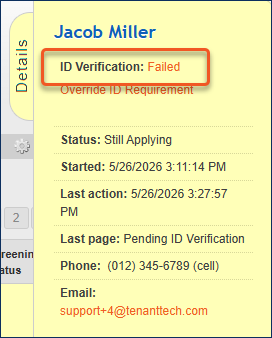
- Applicant Details Panel – At the top of the Applicant Details Panel, directly under the applicant’s name, you will see the ID Verification label, followed by either a Passed or Failed hyperlink.
Clicking on the hyperlink will take you to the Identity Validation Report. The report allows you to review the details of the verification, showing green check marks next to the items that were successfully validated.
Re-sending the ID Verification Request to an Applicant
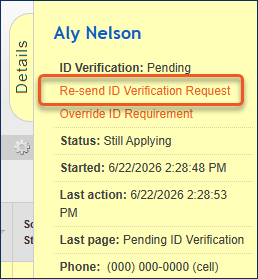
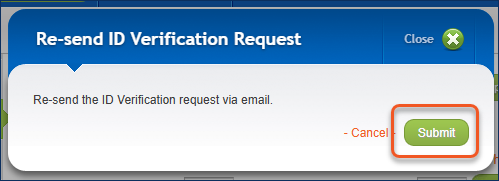
If an applicant can’t find or accidentally deletes their ID verification email, users have the option to manually re-send the ID Verification request.
Resending an ID Verification Request:
1. From the Details Menu, click the option to Re-send the ID Verification Request.
2. Click Submit. The request will be sent to the email address used when the applicant initiated their application.
If Required – Applicant Identity Verification Override Options
When an applicant is unable to complete the ID FraudGuard process or when an applicant fails the ID Validation, site teams have the option to override the failure.
Overriding an ID Validation Failure:
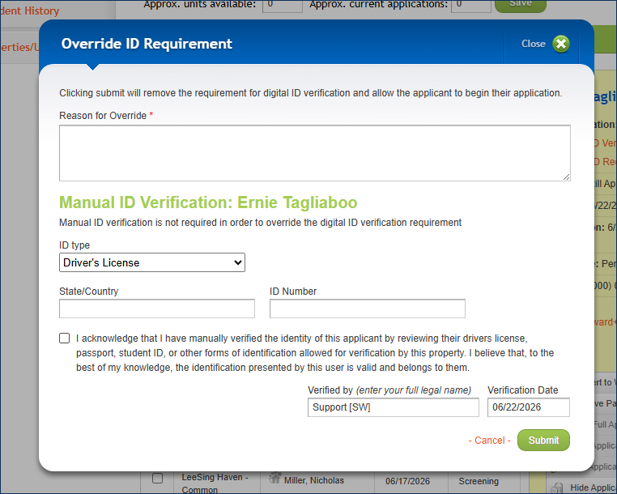
1. Click the option to Override ID Requirement.
2. From the drop-down menu, users will be required to select which ID type they have verified and enter the corresponding information related to that ID. Users will also be required to:
- Click the Acknowledgement box
- Enter their name
- Enter the date
3. Once all information has been entered, select Submit to process the override.
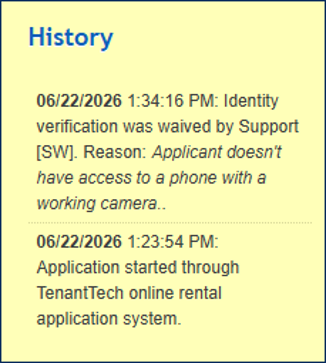
4. The details of the override will be stored in the Applicant History.
5. Applicants who are completing online applications will receive an email directing them to click a link to continue their application.
On-Demand Requests for ID FraudGuard Verification - Paper Applications
Key Things to Keep in Mind for Paper Applications
- Site teams must initiate the ID Verification from within TenantTech.
- Leasing teams cannot modify or resubmit ID FraudGuard on the applicant’s behalf.
1. Start - Application entered in TenantTech
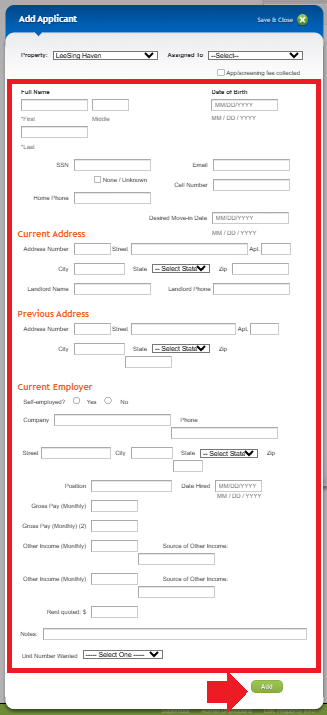
After receiving a completed application, site teams confirm the applicant details, enter the information into TenantTech using the Create New Applicant. Enter Applicant provided details in the Add Applicant page. After all details are entered, select Add.
*Important- All mandatory fields must be entered for the applicant to initiate the ID FraudGuard Verification request.
2. Applicant in TenantTech
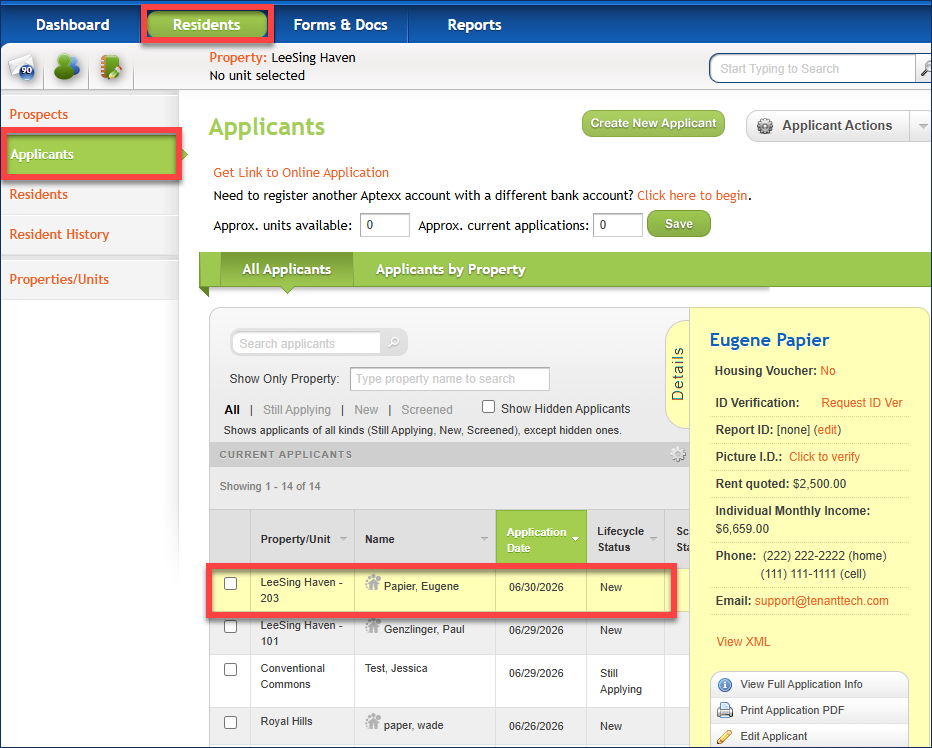
Select the applicant’s name from the list of applicants.
3. Applicant Details Panel
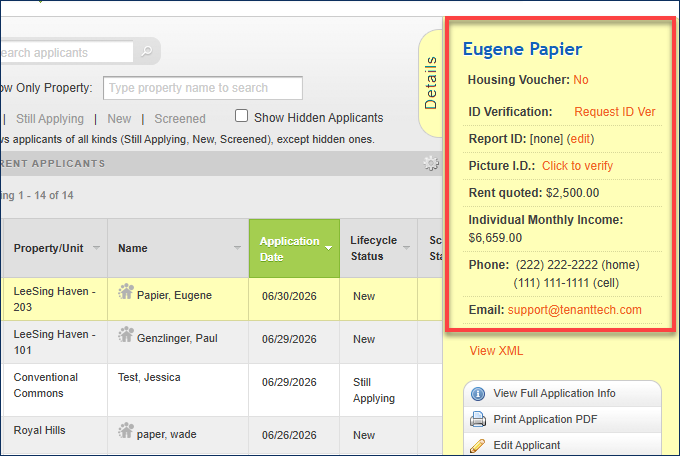
From the Applicant Details Panel, confirm that the applicant information received on the paper application (Applicant Name, Email Address, and Cell Phone Number).
4. Request ID Verification
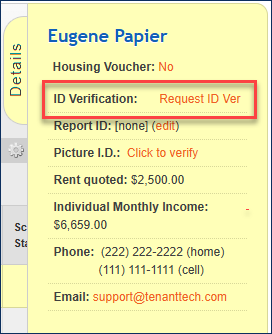
Once the applicant information is confirmed, click on Request ID Ver.
5. Send ID Verification
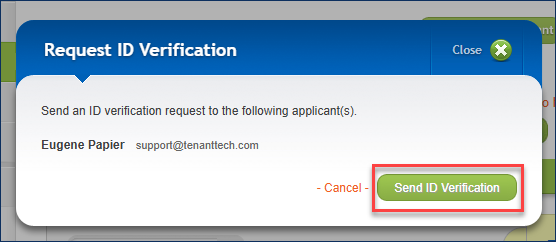
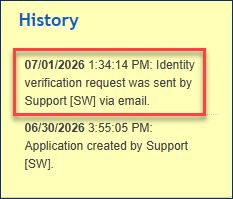
A pop-up window appears, displaying the applicant's name and email address. Click on Send ID Verification. The details of the request will be stored in the Applicant History.
6. ID FraudGuard Link
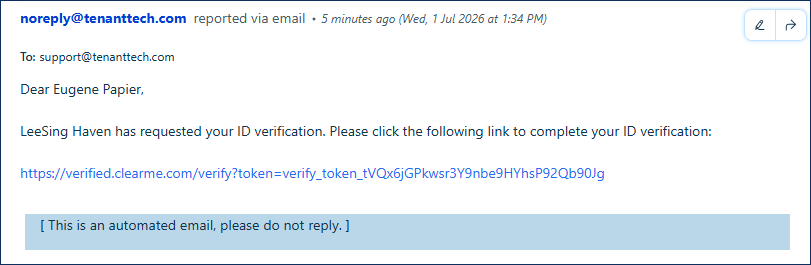
Site teams will need to notify applicants to check their email for the ID verification request. Once the applicant opens the email and clicks the verification link, they will be directed to the ID FraudGuard interface.
7. Complete Identity Verification
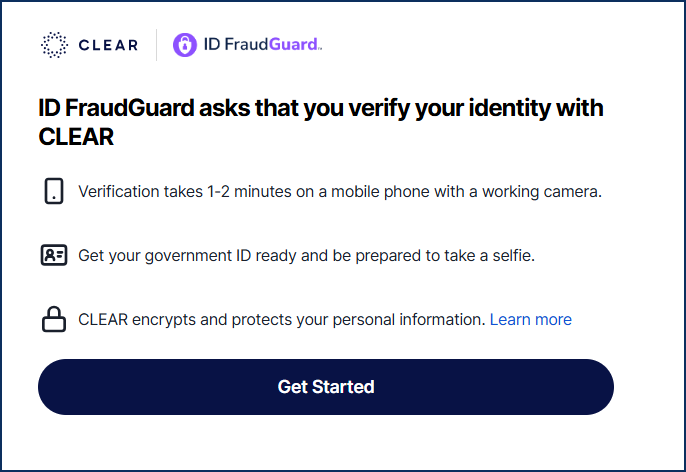
After clicking on their verification link, the applicant is taken to the CLEAR website, where they select Get Started to initiate their identity verification.
*Important Note: Applicants MUST have access to a mobile phone with a working camera to complete their verification.
8. Identity Verification Complete
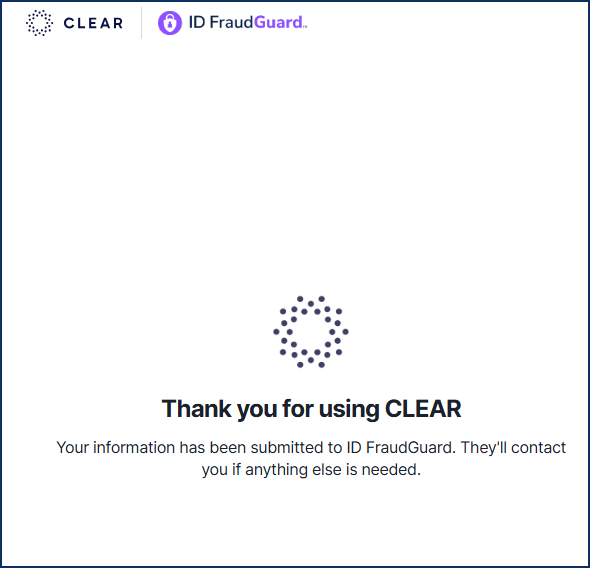
Once the process is completed, a message will be displayed confirming that the applicant’s information was submitted to ID FraudGuard. Simultaneously, CLEAR sends confirmation to ResidentIQ.