If a form was not sent to the Resident Signer(s) at the time of form creation, the signature links can be sent from Document History.
Steps to Send Electronic Signature for Invite from Document History
1. Document History can be accessed by going to Residents >> Select a Resident >> Select Menu option- Document History

2. In Document History, select Sign this Document under the form you wish to send to Resident Signer(s) from TenantTech.

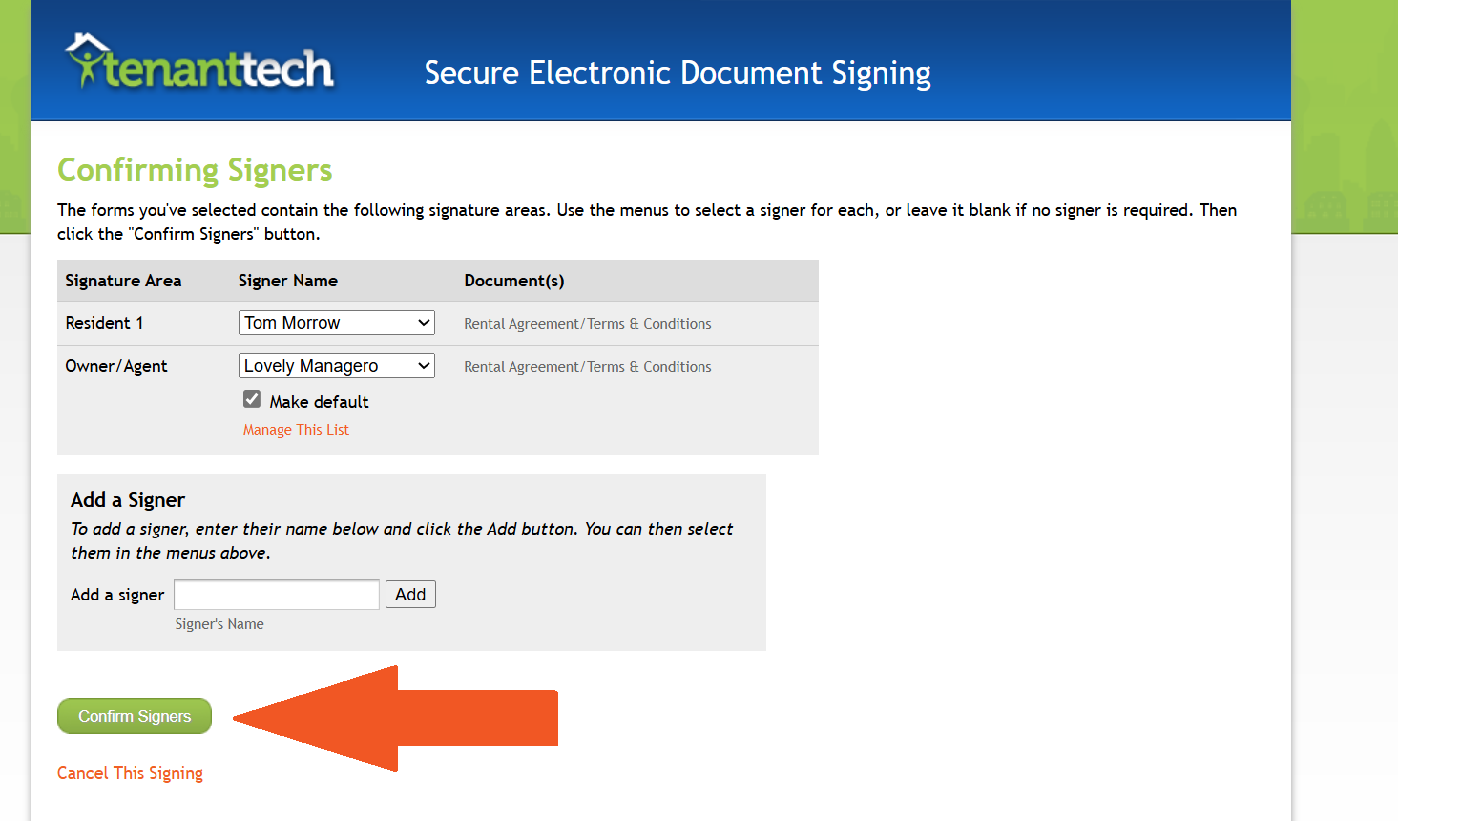
3. Confirm signers: resident signer(s) for the unit will be available in the drop-down menu under resident signer. Owner / Agent can be assigned using the dropdown menu under signer. Based on your account settings, and who created the form- the owner/agent would automatically generate as well.

Note: Users with user permissions that allow them to modify the Owner Agent selected signer may still use the drop-down menu to do so. If the name of the desired signer's name is not found in the drop-down menu, the signer may be added manually by going to Add a Signer, entering their first and last name, and selecting Add.


NOTE: The signing link will expire in 14 days. If the 14 days have passed since the link has been sent out, the resident signer(s) will need another link sent in order to access the document.

Resources:
How to Electronic Signature Invite during Form Creation + Video Tutorial
